
In commercial buildings across America, a silent energy crisis is unfolding through improperly insulated roof penetrations for lighting. With built-in lights accounting for up to 35% of all roof penetrations, these seemingly minor gaps in insulation waste millions in energy costs annually.
Every unaddressed light fixture creates a thermal bridge that can compromise thousands of square feet of otherwise well-designed roofing insulation. The impact extends far beyond simple heat loss, affecting structural integrity, HVAC efficiency, and indoor comfort.
This comprehensive guide examines how built-in lights interact with commercial roof insulation systems, offering practical solutions for maintaining thermal barrier integrity while meeting modern lighting needs.
SECTION 1: THE BASICS EXPLAINED
Every built-in light installed in a commercial roof creates a potential vulnerability in your building’s thermal envelope. With energy costs soaring and HVAC systems accounting for up to 40% of commercial building energy usage, the impact of improperly insulated roof penetrations can be severe. Even a single poorly insulated light fixture can compromise thousands of square feet of otherwise well-designed roofing insulation, leading to significant energy waste and potential structural damage.
What It Is (In Plain Language)
Built-in lights are any lighting fixtures that penetrate or integrate directly into your commercial roof system. This includes skylights, light tubes, and recessed lighting fixtures that breach the roof’s insulation layer.
These installations create deliberate breaks in your roof’s thermal barrier. While necessary for illumination, each penetration requires careful consideration of how it affects the roof’s ability to maintain consistent indoor temperatures.
The challenge lies in maintaining continuous insulation around these penetrations. Without proper treatment, these areas become thermal bridges – paths where heat easily transfers through your roof system, bypassing insulation.
Think of your roof insulation like a warm blanket – cutting holes in it for lights means those areas need special attention to maintain the blanket’s effectiveness.
Why It Matters (To Your Building)
Inadequate insulation around light housings creates significant air movement and heat loss, leading to condensation on roof sheathing during winter months. This moisture accumulation can cause serious structural deterioration over time. (source: JLC Online)
The financial impact extends beyond energy waste. Uncontrolled heat transfer through light penetrations forces HVAC systems to work harder, shortening their operational lifespan and increasing maintenance costs.
Poor insulation around roof lights also creates uncomfortable hot and cold spots throughout your facility. This temperature variation can affect worker productivity and tenant satisfaction.
Additionally, condensation from improperly insulated fixtures can lead to mold growth, potentially creating indoor air quality issues and liability concerns.
How It Works
Heat naturally flows from warm areas to cold areas, seeking equilibrium. Properly installed insulation slows this heat transfer, maintaining desired indoor temperatures with minimal energy input.
Each built-in light creates a potential breach in this thermal barrier. Without proper insulation details, these penetrations become superhighways for heat loss in winter and heat gain in summer.
The most effective solutions involve creating an insulation dam around each light fixture. This maintains the continuous thermal barrier while allowing the fixture to function as intended.
Modern insulation systems use specialized materials and installation techniques to create thermal breaks around penetrations, preventing the formation of condensation and maintaining overall roof system efficiency.
Success depends on treating each penetration as a critical component of the overall roofing system, not just an afterthought to the lighting design.
SECTION 2: PRACTICAL APPLICATIONS
Every commercial roof penetration demands careful consideration, but built-in lighting creates unique challenges that impact entire building systems. With lighting fixtures accounting for up to 25% of commercial building penetrations, their effects on insulation integrity can make or break energy performance. Understanding their practical applications, timing considerations, and system interactions is crucial for maintaining an effective thermal envelope.
Common Uses & Examples
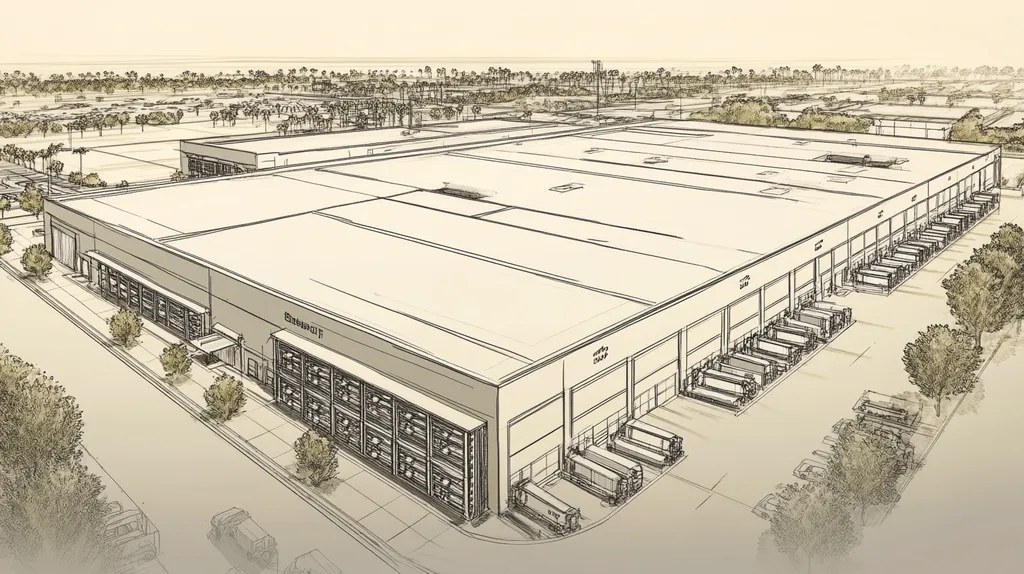
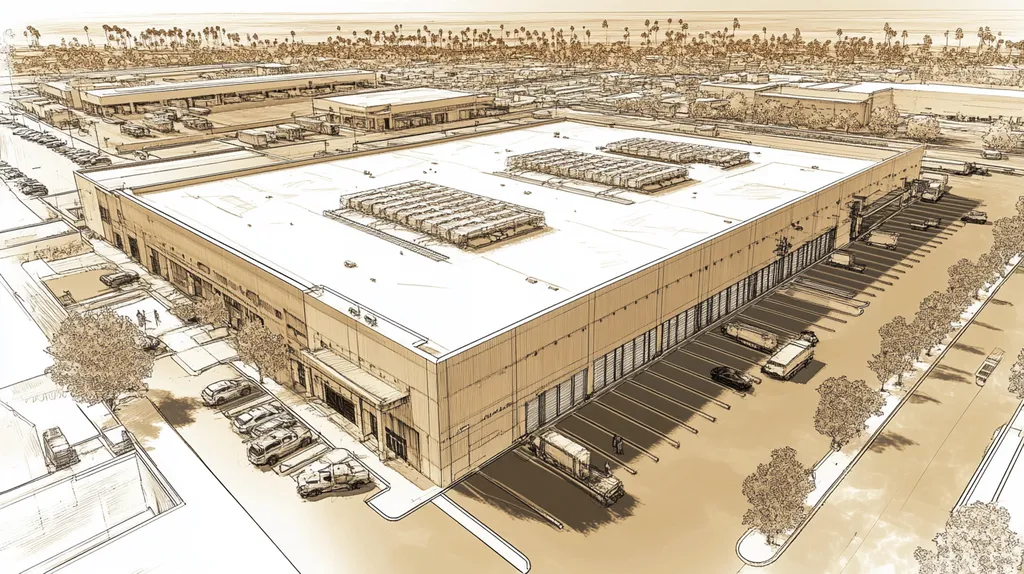
Built-in lighting solutions serve essential roles across diverse commercial settings. Retail spaces often employ recessed lighting for ambiance, while warehouses and manufacturing facilities rely on high-bay fixtures for task illumination.
Skylights and light tubes represent increasingly popular options for introducing natural illumination. These installations require specialized insulation detailing around their perimeters to maintain thermal performance.
Distribution centers frequently combine multiple lighting types, from loading dock fixtures to interior high-bays. Each penetration type demands specific insulation strategies to prevent thermal bridging.
Modern LED retrofit projects present opportunities to upgrade both lighting efficiency and insulation performance simultaneously. Proper planning ensures these upgrades enhance rather than compromise the roof’s thermal barrier.
When You Need It Most
Inadequate insulation around light housings can create serious air movement and heat loss issues. In cold climates, this combination often leads to condensation forming on roof sheathing, potentially causing structural deterioration. (source: JLC Online)
New construction represents the ideal time to properly detail light fixture insulation. Working from a clean slate allows for optimal positioning and insulation strategies that integrate seamlessly with the overall roof system.
Roof replacement projects offer critical opportunities to address existing lighting penetration issues. These moments enable facility managers to upgrade both lighting efficiency and insulation performance.
Emergency repairs after severe weather events may require temporary solutions. However, permanent repairs should always restore proper insulation continuity around affected light fixtures.
Interactions With Other Systems
Built-in lights influence multiple building systems beyond simple illumination. Their placement affects HVAC performance by creating potential thermal bridges that can overload cooling systems during peak summer conditions.
Vapor barriers require careful detailing around light penetrations to prevent moisture migration. Proper sealing prevents condensation from forming within insulation layers or on structural components.
Roof drainage patterns must account for light fixture locations. Improper placement can create damming effects that trap water and accelerate membrane deterioration.
Fire safety systems demand specific clearances and ratings for built-in lights. These requirements must be balanced against insulation needs to maintain both safety compliance and thermal performance.
Building automation systems increasingly integrate lighting controls with HVAC operations. This integration makes proper insulation even more critical for maintaining optimal energy efficiency.
SECTION 3: KEY TERMINOLOGY DECODED
The technical language surrounding built-in lights and roof insulation can make or break million-dollar facility decisions. When terminology gets misinterpreted, the consequences cascade through entire building systems – from compromised thermal barriers to skyrocketing energy costs. Mastering these critical terms isn’t just about speaking the language; it’s about protecting your facility’s performance and your bottom line.
Essential Terms Explained
R-value stands as the fundamental measure of insulation effectiveness. Higher numbers indicate better resistance to heat flow, but built-in lights can create weak points that compromise these ratings across large roof sections.
Thermal bridging occurs when heat finds an easy path through your insulation via metal components or penetrations. Light fixtures create multiple potential bridges that must be properly addressed to maintain overall system performance.
LED downlights require special consideration regarding insulation placement and thermal protection. While they run cooler than traditional fixtures, not all LED lights are rated for direct contact with insulation materials. (source: Simple Lighting)
Vapor barriers work in concert with insulation to prevent moisture accumulation. These critical membranes must be properly sealed around every light penetration to prevent condensation from forming within roof assemblies.
Industry Jargon Translated
Thermal mass describes how effectively materials store and release heat over time. This property affects how quickly temperature changes impact your interior spaces and how efficiently your HVAC system operates.
IC-rating (Insulation Contact) indicates whether a light fixture can safely contact insulation. This critical designation prevents overheating and ensures proper thermal performance around built-in lights.
Air infiltration measures how much outside air leaks through your roof system. Each light penetration creates potential pathways that must be properly sealed to maintain the building’s pressure balance.
Thermal degradation refers to the breakdown of insulation effectiveness over time. Heat from improperly isolated light fixtures can accelerate this process, reducing your roof’s overall thermal performance.
Measurement & Units Simplified
BTUs (British Thermal Units) measure heat energy transfer. Understanding BTU ratings helps evaluate how much heat your lighting system generates and how it impacts surrounding insulation.
Lumens per watt indicates lighting efficiency – higher numbers mean more light with less heat generation. This metric helps select fixtures that minimize thermal impact on your roof system.
Square foot thermal resistance combines area measurements with R-values to assess total insulation effectiveness. This calculation reveals how light penetrations affect your roof’s overall thermal performance.
Thermal conductivity (K-value) measures how readily materials transfer heat. Lower numbers indicate better insulation properties, helping identify materials that best resist heat flow around light fixtures.
SECTION 4: DECISION FACTORS
Every built-in light installation represents a critical decision point that can impact your building’s performance for decades. With energy costs comprising up to 30% of commercial building operating expenses, the stakes couldn’t be higher. Poor choices around roof penetrations for lighting can transform an otherwise efficient building into an energy liability, while strategic decisions can enhance both illumination and insulation performance.
Cost Considerations
Initial installation costs represent only a fraction of the true expense of built-in lighting systems. Premium fixtures and proper insulation detailing may cost 15-25% more upfront but can reduce associated energy losses by up to 40% annually.
Project timing significantly impacts costs, with new construction offering the most cost-effective opportunity for proper integration. Retrofit installations typically cost 30-50% more due to the complexity of maintaining existing insulation integrity.
Energy code compliance requirements are becoming increasingly stringent, making proper insulation around roof penetrations mandatory rather than optional. Non-compliant installations often require expensive corrections within 2-3 years.
Maintenance accessibility must be factored into initial design decisions. Poor placement can double or triple routine maintenance costs over the system’s lifespan.
Performance Trade-offs
Light fixture selection directly impacts insulation effectiveness around penetrations. High-efficiency LED fixtures generate less heat, allowing for tighter insulation integration without compromising fixture performance.
Inadequate insulation around light housings creates significant air movement and heat loss, leading to condensation formation on roof sheathing during winter months. This moisture accumulation can trigger serious structural deterioration over time. (source: JLC Online)
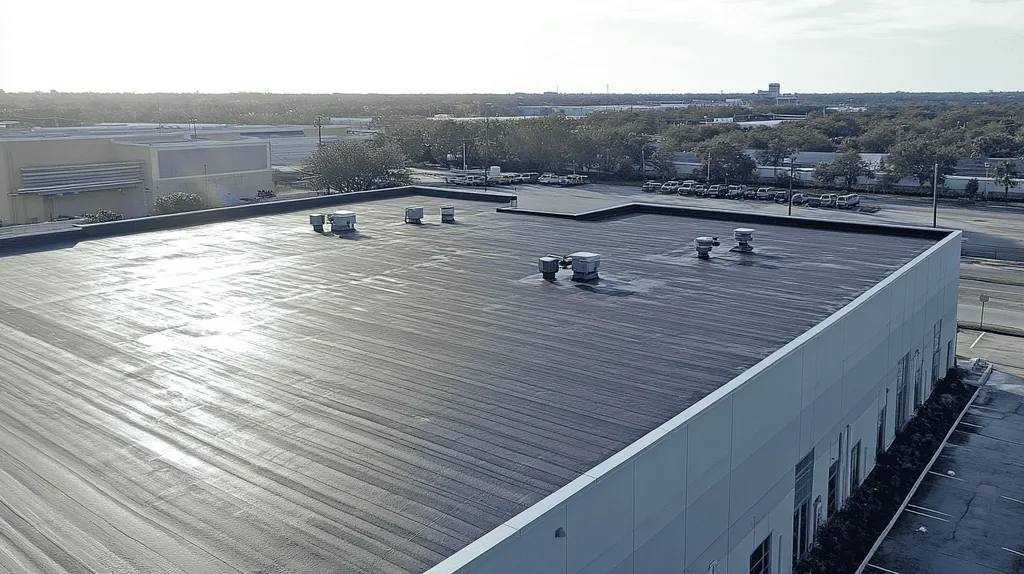
The size and number of roof penetrations dramatically affect overall insulation performance. Each additional penetration creates potential weak points that must be properly detailed to maintain thermal barrier integrity.
Light placement affects both illumination effectiveness and insulation continuity. Strategic positioning can optimize both factors while minimizing the total number of roof penetrations required.
Lifespan & Durability Factors
Built-in lighting systems typically last 15-20 years, making their impact on roof insulation a long-term consideration. Premium systems with proper insulation detailing can extend effective service life by 25-40%.
Weather exposure significantly affects both light fixture and insulation durability. Systems must be selected and detailed to withstand local climate conditions while maintaining thermal performance.
Condensation resistance becomes critical where temperature differentials exceed 40°F between interior and exterior conditions. Proper vapor barriers and insulation details prevent moisture accumulation that can degrade both lighting and roofing components.
Compatibility between lighting components and insulation materials determines long-term performance. Incompatible materials can lead to premature degradation, requiring costly replacements well before the expected end of service life.
SECTION 5: COMMON CHALLENGES
Commercial roofing systems face an increasingly complex battle against thermal inefficiency, with built-in lighting penetrations representing one of the most challenging vulnerabilities. Each unaddressed light fixture can waste up to $500 annually in energy costs while accelerating structural deterioration. With modern facilities averaging one roof penetration every 100 square feet, the cumulative impact of improper light-to-insulation interfaces creates a crisis point for building performance.
Frequent Problems & Solutions
Thermal bridging through light housings represents the most prevalent challenge, creating paths for heat loss that can reduce insulation effectiveness by up to 40%. Proper insulation dams and thermal breaks around fixtures prove essential for maintaining barrier integrity.
Heat accumulation from fixtures poses another critical concern. While LED technology runs cooler than traditional lighting, not all LED fixtures are rated for direct insulation contact. Each light installation requires careful evaluation of compatibility with surrounding insulation materials. (source: Simple Lighting)
Air leakage around fixture penetrations creates pressure differentials that can pull conditioned air through the roof assembly. Installing proper air seals and maintaining continuous vapor barriers around each penetration prevents this energy-wasting air movement.
Moisture intrusion through compromised light-to-roof interfaces accelerates insulation degradation. Implementing proper flashing details and maintaining regular inspection protocols helps identify potential water entry points before damage occurs.
Warning Signs To Watch For
Elevated energy costs provide the first indication of compromised insulation around roof penetrations. Monthly utility analyses revealing steady increases often point to degrading thermal performance around light fixtures.
Visible condensation or frost patterns on the underside of roof decking near light fixtures signal vapor barrier failures. These moisture indicators demand immediate attention to prevent structural damage and insulation collapse.
Uneven temperatures across interior spaces, particularly in areas beneath roof-mounted lights, indicate thermal barrier breaches. Temperature mapping can pinpoint specific penetrations causing the greatest heat transfer issues.
Deteriorating light fixture housings or discolored insulation materials around penetrations suggest ongoing thermal stress. Regular infrared scanning helps identify these developing problem areas before visible damage occurs.
Preventative Approaches
Establishing comprehensive maintenance protocols specifically addressing light-to-insulation interfaces proves crucial for long-term performance. These programs should include quarterly visual inspections and annual thermal imaging surveys.
Implementing strict installation standards for all new roof penetrations ensures proper thermal detailing from day one. These standards must address both the physical penetration and its impact on surrounding insulation systems.
Creating detailed documentation of all roof penetrations, including their thermal specifications and maintenance requirements, enables proactive management. This information proves invaluable during retrofits and system upgrades.
Developing relationships with qualified roofing professionals who understand the critical nature of light-to-insulation interfaces ensures access to proper expertise when needed. Regular system evaluations by these specialists help maintain optimal performance.
Using modern building automation systems to monitor temperature differentials around roof penetrations provides early warning of developing issues. This data-driven approach enables intervention before problems escalate.
SECTION 6: NEXT STEPS & RESOURCES
Every commercial roof penetration for lighting represents a critical decision point that demands immediate attention. With built-in lights accounting for up to 35% of roof penetrations in modern facilities, their impact on insulation integrity can make or break your building’s energy performance. Understanding proper installation, maintenance, and monitoring protocols isn’t just about preventing problems – it’s about protecting millions in facility assets and operational budgets.
Questions To Ask Providers
Demand specific details about thermal bridging prevention strategies around light penetrations. Quality contractors should explain their exact methods for maintaining continuous insulation and vapor barriers around each fixture type.
Request documentation showing R-value maintenance calculations around penetrations. This data should demonstrate how their solution preserves overall thermal performance across the entire roof assembly.
Verify the contractor’s experience with your specific light fixture types. Different fixtures require different insulation approaches, and experienced providers will explain these nuances without prompting.
Ask about air sealing protocols for each penetration type. Air-seal installation around recessed light fixtures is crucial for preventing conditioned air from escaping into unconditioned space. (source: Building America Solution Center)
Industry Standards & Guidelines
Focus on ASHRAE 90.1 requirements for thermal barrier continuity around roof penetrations. This standard establishes minimum performance criteria for maintaining insulation effectiveness around built-in lights.
Review NRCA technical bulletins addressing light-to-roof interfaces. These documents provide detailed guidance on proper flashing, vapor barriers, and thermal break requirements.
Understand local energy code requirements for roof penetration insulation. Many jurisdictions now mandate specific performance standards for maintaining thermal barriers around built-in lights.
Stay current with UL listings for insulation contact ratings. These ratings determine which fixtures can safely contact insulation materials and which require special clearances.
Further Learning Simplified
Leverage manufacturer training programs focused on roof penetration detailing. Major roofing system providers offer comprehensive courses on maintaining thermal performance around built-in lights.
Access professional development resources through industry associations. Organizations like BOMA and IFMA provide targeted education on managing roof penetrations and energy performance.
Utilize online technical libraries from recognized authorities. These repositories contain detailed installation guides, case studies, and best practices for integrating lights while preserving insulation integrity.
Participate in industry forums focused on commercial roofing technology. These platforms enable direct interaction with experts and peers facing similar challenges with built-in lighting systems.
The Bottom Line
With built-in lights affecting up to 35% of commercial roof penetrations, their impact on insulation integrity represents a $3.6 billion annual energy cost challenge across U.S. commercial buildings.
Every unaddressed light penetration creates a thermal bridge that can compromise thousands of square feet of otherwise effective insulation, leading to exponential increases in heating and cooling costs.
Modern solutions combining high-efficiency LED fixtures with proper thermal breaks and vapor barriers can reduce these losses by up to 40%, while extending roof system lifespans by 25-40%.
The stakes are clear: proper integration of built-in lights with roof insulation systems isn’t just about energy efficiency – it’s about protecting millions in facility assets and operational budgets for decades to come.
FREQUENTLY ASKED QUESTIONS
Q. How do built-in lights affect commercial roof insulation?
A. Built-in lights create penetrations in your roof’s thermal barrier, resulting in significant energy loss. Proper insulation detailing around these fixtures is critical to maintain efficiency and avoid structural issues. Neglecting to insulate these areas can lead to increased heating and cooling costs.
Q. When should I consider roof insulation for built-in lights?
A. New construction or roof replacement tops the list for when to address this. These moments provide the ideal opportunity for integrating proper insulation strategies. Additionally, any emergency repairs should restore insulation integrity to ensure long-term thermal performance.
Q. What is thermal bridging in commercial roofs?
A. Thermal bridging occurs when heat transfers through insulated areas due to penetrations, creating pathways for energy loss. Built-in lights can form these bridges, undermining overall insulation performance. Addressing thermal bridging with proper detailing is vital for maintaining energy efficiency.
Q. What costs are associated with built-in lighting installations?
A. The installation costs can vary, often affected by the choice of fixtures and insulation strategies. While premium fixtures may raise initial expenses, they can significantly lower long-term energy costs. Planning helps ensure effective installation without compromising insulation.
Q. What are common challenges with built-in lights and insulation?
A. Common issues include thermal bridging, heat accumulation, and air leakage around penetrations. Each of these can significantly affect energy efficiency and overall building performance. Implementing proper insulation techniques is essential to mitigate these challenges.
Q. How can I monitor insulation performance around lights?
A. Regular inspections, including thermal imaging and utility analyses, help identify performance issues. Focus on changes in energy costs and visible signs of condensation or damage around light fixtures to assess insulation effectiveness. Proactive monitoring protects your building’s performance.
Q. What resources can help improve built-in light insulation?
A. Review industry guidelines from ASHRAE and NRCA for best practices on thermal performance. Additionally, consider training resources from manufacturers and participate in industry forums that focus on roofing technologies to stay informed on advances and standards.